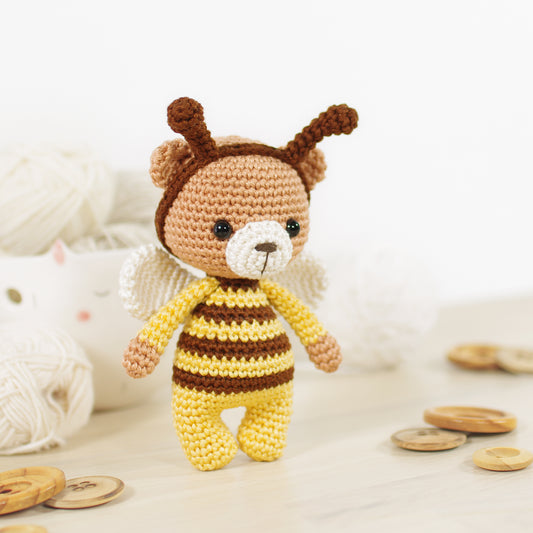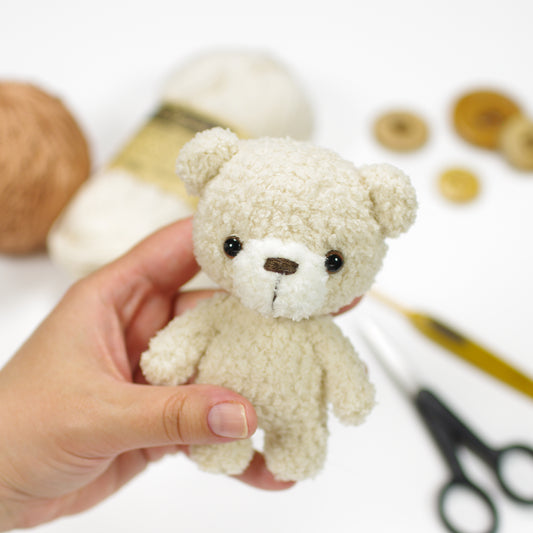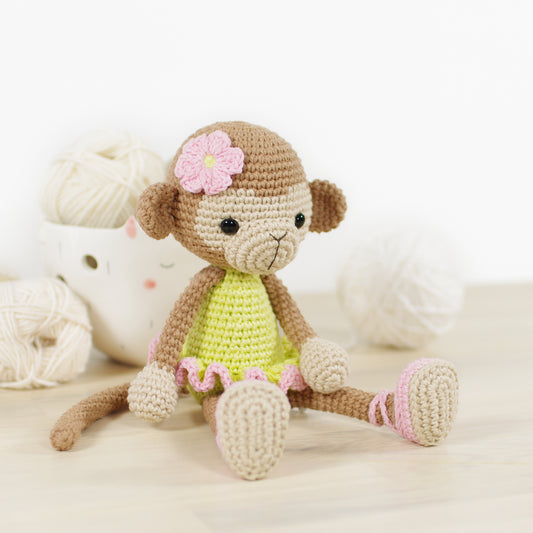
This little amigurumi giraffe pattern is perfect for beginners and seasoned crocheters alike. It works up quickly in an evening or two, uses just a bit of yarn from your scrap stash, and only requires basic stitches like single crochet, increases, and decreases. No fancy techniques here, just a sweet, huggable friend with a long neck, little ossicones (those adorable horns), and spots you can customize however you like.

I couldn't decide on a color scheme, so I made three - sunny yellow, natural beige and cute pink - and I love them all.

There's a free online version of the pattern below or you can get an ad-free printable PDF version with step-by-step photos on ETSY or KRISTITULLUS.COM.


About the Pattern
Size: 22.5 cm (9") including horns, when crocheted with sport weight cotton and acrylic blend and a 2.50 mm crochet hook.
Difficulty: intermediate – includes some more complicated crochet techniques, small details and simple shaping.
You Will Need
- DK / light worsted / #3 / sport weight yarn.
- For the beige version, I used Alize 'Cotton Gold', a sport weight cotton-acrylic blend, 330 m (361 yd) / 100 g (3.53 oz). You will need about 30 g of beige (#262) and 8 g of brown yarn (#493).
- For the pink version, I used DROPS 'Muskat', a DK weight cotton yarn, 100 m (109 yd) / 50 g (1.76 oz). You will need about 33 g of light pink (10 light peach) and 10 g of purple yarn (79 clove).
- For the yellow version, I used Scheepjes ‘Stone Washed’, a sport weight cotton-acrylic blend, 130 m (142 yd) / 50 g (1.76 oz). You will need about 33 g of yellow (833 beryl) and 10 g of brown yarn (822 brown agate). - 2.50 - 3.00 mm crochet hook (US size 2/C - 3/D).
- Polyester fiberfill, wool, etc. for stuffing.
-
8 mm (1/3") safety eyes or buttons, beads, felt, etc.
- Two 10 mm (2/5”) and two 12 mm (1/2”) doll joints or safety eyes or buttons.
- Dark brown cotton embroidery floss.
- Yarn needle, scissors, stitch marker.
Skills Required
- Magic ring
- Crocheting in spiral
- Slip stitch
- Single crochet stitch (double crochet stitch in UK and Australia)
- Increasing
- Decreasing
- Finishing an open piece
- Finishing a closed piece
- Sewing an open piece to a closed piece
- Sewing a flat piece to a closed piece
- Attaching jointed arms and legs
Abbreviations
- mr, sc n = magic ring - start with an adjustable loop and crochet n (number) single crochet stitches into the loop.
- ch = chain stitch.
- sl st = slip stitch.
- sc = single crochet stitch (double crochet stitch in UK and Australia).
- hdc = half double crochet stitch (half triple or treble crochet stitch in UK and Australia).
- bpsc = back post single crochet stitch.
- sc (or sl st, ch etc.) n = crochet one sc (or sl st, ch etc.) in each of the next n stitches.
-
inc = increase - crochet two single crochet stitches in the same stitch.
- hdc-inc = half double crochet increase - crochet two half double crochet stitches in the same stitch.
- dec = decrease – crochet two stitches together using the invisible decrease method.
- dec (or inc, dbl-inc etc.) x n = crochet n decreases (or inc, dbl-inc etc.) in a row.
- (sc 4, inc) x n = repeat the pattern between parentheses n times.
-
(36) = number of stitches in a round after finishing the round.
Notes
- Work in a continuous spiral, do not join rounds or turn your work, unless instructed otherwise in the pattern.
- Use a stitch marker or a piece of yarn to mark the end or the beginning of a round. Move the marker up after completing each round.
- All stitches are worked into both loops, unless instructed otherwise in the pattern.

Printable PDF Pattern
You can download an ad-free printable PDF version with step-by-step photos.
Head
With yellow yarn:
1: mr, sc 6 (6)
2: inc x 6 (12)
3: sc, inc x 3, sc 3, inc x 3, sc 2 (18)
4-5: sc in each st (18)
On round 6, place a stitch marker between stitches 13 and 14 (around the loops on top of the 14th stitch) to mark the center of the face. Use it as guide when placing the eyes.
6: sc 6, hdc-inc x 7, sc 5 (25)
7: sc 5, inc, (sc, inc) x 8, sc 3 (34)
8: sc 16, inc, sc 3, inc, sc 13 (36)
Attach safety eyes to either side of the stitch marker, between rounds 6 and 7, leaving 10 stitches (count 9 holes) between them.
9-14: sc in each st (36)
15: (sc 7, dec) x 4 (32)
16: sc 2, dec, (sc 6, dec) x 3, sc 4 (28)
Start stuffing the head. Keep adding a bit of fiberfill after every couple of rounds, stuffing the head firmly.
17: (sc 5, dec) x 4 (24)
18: (dec, sc 2) x 6 (18)
19: (sc, dec) x 6 (12)
20: dec x 6 (6)
Finish stuffing the head. Cut the yarn, leaving a long yarn tail, and fasten off. Thread the tail onto a needle
and use it to pick up all the remaining stitches and close the opening.
Use yarn to indent the eyes a little.
Embroider the nostrils over round 3 with cotton embroidery floss.
Horns (make 2)
With brown yarn:
1: mr, sc 6 (6)
2: (inc, sc) x 3 (9)
3: sc in each st (9)
4: (sc, dec) x 3 (6)
Start stuffing the horn. Keep adding a bit of fiberfill after every few rounds, stuffing the horns firmly.
With yellow yarn:
5-8: sc in each st (6)
Sl st in next stitch. Cut the yarn, leaving a long yarn tail for sewing, and fasten off. Stuff the horns firmly.
Sew the horns to the head with whip stitch, placing them just behind round 11, leaving 6-7 stitches between them.
Ears
With yellow yarn:
1: mr, sc 6 (6)
2: sc in each st (6)
3: (inc, sc) x 3 (9)
4: (sc 2, inc) x 3 (12)
5: sc, inc, (sc 3, inc) x 2, sc 2 (15)
6-7: sc in each st (15)
8: dec, sc 6, dec, sc 5 (13)
9: sc 3, dec, sc 8 (12)
Sl st in next stitch. Cut the yarn, leaving a long yarn tail for sewing, and fasten off. Do not stuff the ears.
Flatten the ears and fold them in half lengthwise. Sew the ears to the head, placing them just behind round 11, two stitches below the horns.
Arms (make 2)
With brown yarn:
1: mr, sc 7 (7)
2: inc x 7 (14)
3: bpsc in each st (14)
4: sc 4, dec, sc 2, dec, sc 4 (12)
5: sc 5, dec, sc 5 (11)
With yellow yarn:
6: sc 2, dec, sc 4, dec, sc (9)
Stuff firmly. Make a long vertical stitch along the front of the hoof with dark brown embroidery floss.
Insert the needle from the top (through the opening) and bring it up between rounds 5 and 6, on the opposite side from the start of the round. Make a long vertical stitch going straight down and insert the needle through the center of the first round. Bring it up through the opening, draw the stitch very tight, and knot the yarn ends together.
Keep adding a bit of fiberfill after every few rounds, stuffing the arms firmly.
7: sc in each st (9)
8: sc 4, dec, sc 3 (8)
9-15: sc in each st (8)
On the right arm only, sc in next 4 stitches. Count the last sc as the end of the round from now on.
Attach the smaller joint inside the arm between rounds 14 and 15, placing it so the post is facing straight towards the body.
16: sc 3, dec, sc, dec (6)
Finish stuffing.
Cut the yarn, leaving a long yarn tail, and fasten off. Pick up all the remaining stitches and close the opening.
Legs (make 2)
With brown yarn:
1: mr, sc 6 (6)
2: inc x 6 (12)
3: (sc 2, inc) x 4 (16)
4: bpsc in each st (16)
5: (sc 4, dec) x 2, sc 4 (14)
6: sc 6, dec, sc 6 (13)
With yellow yarn:
7: sc in each st (13)
Stuff firmly. Make a long vertical stitch along the front of the hoof with dark brown embroidery floss.
Insert the needle from the top (through the opening) and bring it up between rounds 6 and 7, on the opposite side from the start of the round. Make a long vertical stitch going straight down and insert the needle through the center of the first round. Bring it up through the opening, draw the stitch very tight, and knot the yarn ends together.
Keep adding a bit of fiberfill after every few rounds, stuffing the arms firmly.
8: sc 3, dec, sc 4, dec, sc 2 (11)
9: sc in each st (11)
10: sc 5. dec, sc 4 (10)
11-20: sc in each st (10)
On the right leg only, sc in next 5 stitches. Count the last sc as the end of the round from now on.
Attach the larger joint inside the leg between rounds 19 and 20, placing it so the post is facing straight towards the body.
21: sc 2, dec x 4 (6)
Finish stuffing.
Cut the yarn, leaving a long yarn tail, and fasten off. Pick up all the remaining stitches and close the opening.
Body
With yellow yarn:
1: mr, sc 6 (6)
2: inc x 6 (12)
3: (sc, inc) x 6 (18)
4: (inc, sc 2) x 6 (24)
5: (sc 7, inc) x 3 (27)
6-9: sc in each st (27)
Turn the body so the first stitch of round 9 is facing away from you (center of the back). Attach the legs to the sides of the body, between rounds 6 and 7.
10: sc 6, (dec, sc 5) x 3 (24)
11: (dec, sc 6) x 3 (21)
Start stuffing the body. Keep adding a bit of fiberfill after every few rounds, stuffing the head firmly.
12: sc in each st (21)
13: sc 3, dec, (sc 5, dec) x 2, sc 2 (18)
14: sc in each st (18)
15: (dec, sc 4) x 3 (15)
16: sc in each st (15)
17: sc 2, dec, (sc 3, dec) x 2, sc (12)
Attach arms to the sides of the body, between rounds 14 and 15.
18-21: sc in each st (12)
22: sc 4, leave rest of the stitches unworked (12)
Sl st in next stitch. Cut the yarn, leaving a long yarn tail for sewing, and fasten off. Finish stuffing the body.
Tail
With yellow yarn:
1: mr, sc 5 (5)
2-3: sc in each st (5)
4: sc 3, inc, sc (6)
5-6: sc in each st (6)
7: sc 4, inc, sc (7)
Sl st in next stitch. Cut the yarn, leaving a long yarn tail for sewing, and fasten off. Stuff the tail lightly.
Cut pieces of brown yarn and attach them to the tip of the tail over the first two rounds.
Sew the tail to the body over round 5 with whip or mattress stitch.
Small spots (make 4)
With brown yarn:
1: mr, sc 6 (6)
Sl st in next stitch. Cut the yarn, leaving a long yarn tail for sewing, and fasten off.
Large spots (make 2)
With brown yarn:
1: mr, sc 8 (8)
Sl st in next stitch. Cut the yarn, leaving a long yarn tail for sewing, and fasten off.
Sew one larger and two smaller spots to the front and back of the body.

If you have any questions, do not hesitate to email me or leave a comment below, I am always happy to help.

Copyright © 2021 Kristi Tullus, TÜ Spire. All rights reserved.
You may not sell, copy, reproduce, alter, publish, or distribute this pattern, or parts of this pattern in any way. You are welcome to sell finished items made with any of my patterns.
* Some links may be affiliate links which will allow me to make a small commission on any products purchased using one of these links with no extra cost for you. This does not influence my opinion or recommendations in any way. Thanks for your support.