If you're already an expert toy maker, you've probably heard about all of these techniques before (and most likely are using them as well). But for anyone new in the world of amigurumi, I thought I would put together a little list of techniques I found really improved the look of my toys.
1. The "magic ring"
You know that pesky little hole, that will be left in the middle of the first round if you start crocheting with a chain? The answer to that problem is a "magic ring" - an adjustable loop you can pull tightly closed. See the tutorial HERE.

2. Invisible single crochet decrease
Another technique most crocheters like to use when making toys is the invisible decrease. Regular single crochet decreases can be a bit bulky and although this technique does not make them completely invisible, they will be much less noticeable. See the tutorial HERE.

3. Staggering increases and decreases
When making a round amigurumi piece, you usually start with six stitches and then increase by six stitches every round, until the piece is big enough. But if you increase on the same spot every round, your increases will be stacked on top of each other and you'll end up with a hexagon, making the increases more prominent, even after stuffing. But more often than not you will want your amigurumi to be nice and round, like a teddy bear's head for example. Which is why you should try to arrange the increases more evenly around the piece. See the tutorial HERE.

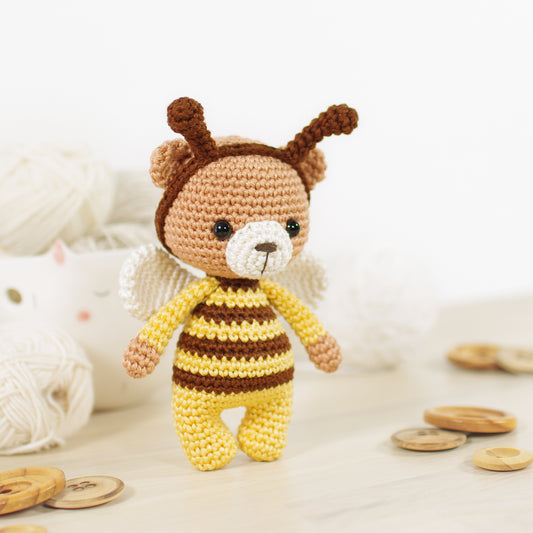
4. Joining rounds for perfect stripes
Because amigurumi is crocheted in spiral, the end and the beginning of a round do not line up. And that means if you change yarns, there will be a visible step. If you need to change yarns once, it's usually not that noticeable and can sometimes be hidden with embellishments or strategically placed limbs, tail, or ears. But if you are making something stripy, you will have to join rounds to get perfect stripes. See the tutorial HERE.

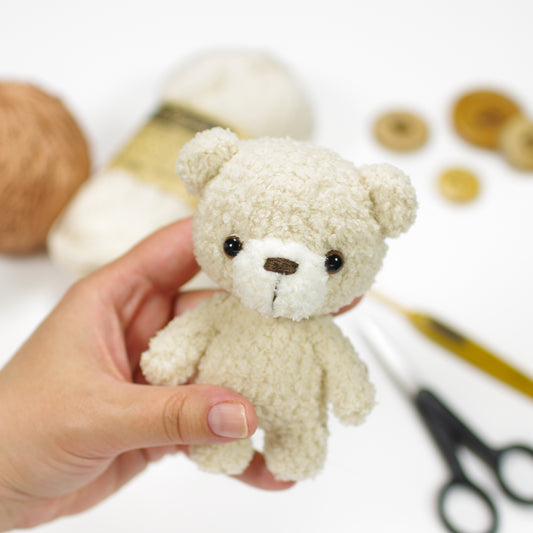
5. Sewing with mattress stitch
Mattress stitch is great for sewing your toys together - it leaves a really nice clean seam. It doesn't work in all situations, but I prefer using it whenever I can and I especially like it for joining the head and body - it looks great and helps avoid a floppy head. See the tutorials HERE and HERE.

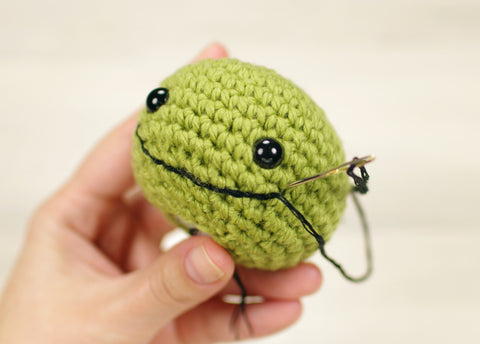
6. Embroidering a Smile
Embroidering smooth lines on a bumpy surface can be a bit tricky. After some trial and error, I found a technique that works for me - embroidering the mouth with back stitch and then wrapping the yarn around the row of stitches. See the tutorial HERE.
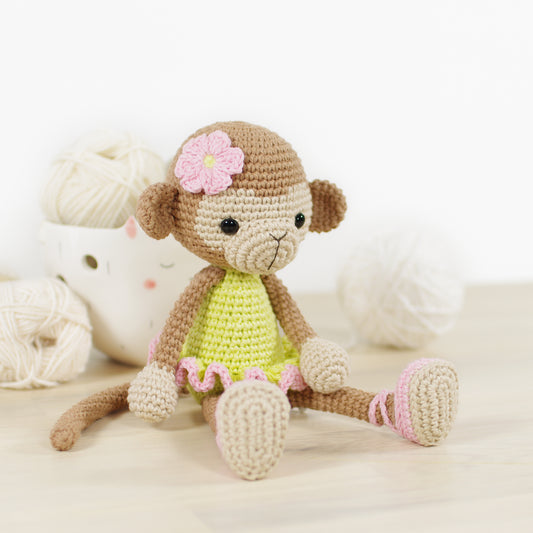
7. Jointed arms and legs
Now this is something that will only work with patterns specifically designed to have jointed arms and legs. But it's worth considering if you're looking for a pattern for your next project or starting to design your own. The moving arms and legs add a lot of character. Plus using joints means less sewing, which is always a good thing in my book. See the tutorial HERE.

What are some of your favorite techniques? Leave a comment and share your tips and tricks.
Happy crocheting!