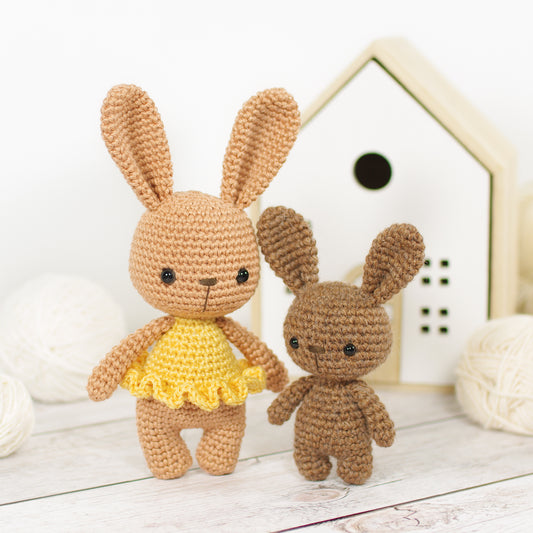
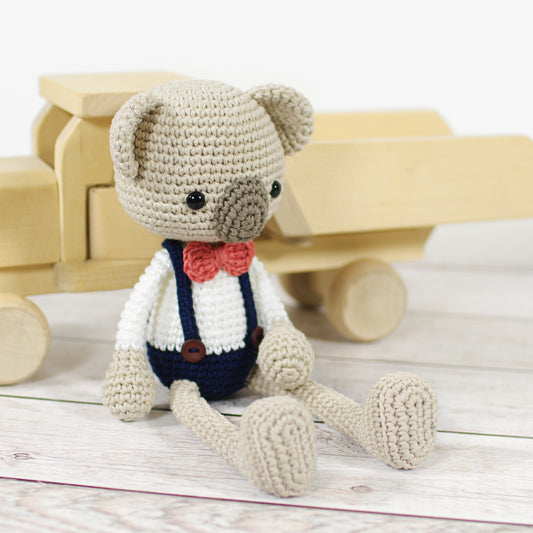
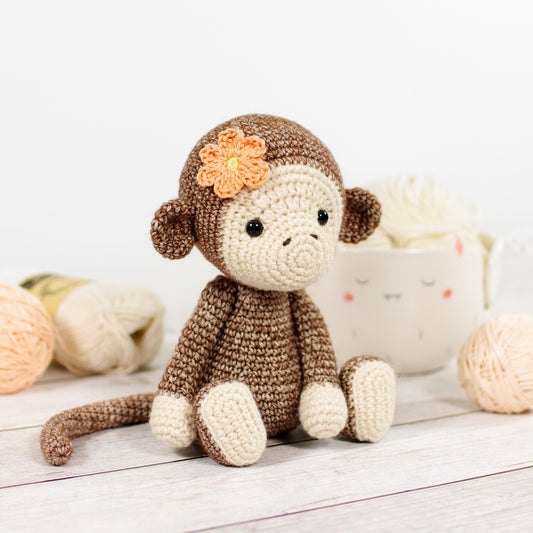
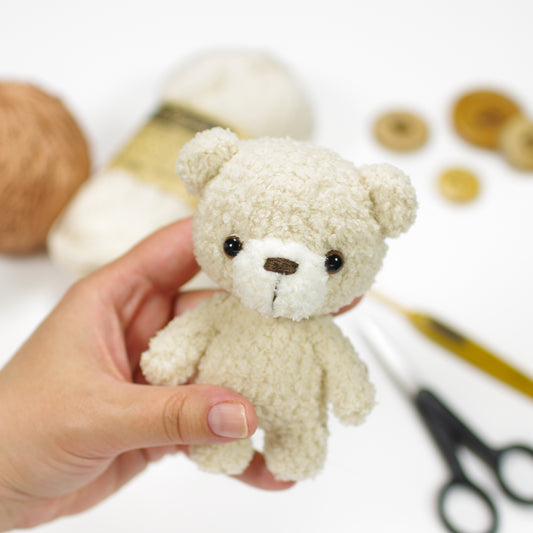
Today I will show you how I like to embroider a smiling mouth (or any other curved line) on my crocheted toys.
Embroidering smooth lines on a bumpy surface can be a bit tricky. After some trial and error I found a technique that works for me - embroidering the mouth with back stitch and then wrapping the yarn around the row of stitches. But if you have any tips or a different technique you don't mind sharing with others, do leave a comment below.
I like using cotton embroidery floss - it comes in pretty much any color and is easy to split or double up. But you can use any yarn or thread you like, just make sure it doesn't bleed color - toys may get wet or need to be washed.

Tip! Use a sharp embroidery needle that will go through your crochet stitches - you will get a much nicer and smoother line if you don't have to work around them.
Hold up a piece of yarn to find the right shape and size for the mouth and mark it with a few sewing pins.

Thread the yarn onto a needle. Insert your needle under the head, and bring it up where your mouth starts. Draw the yarn through, leaving a short yarn tail.

Hold your working yarn against the head as a guide to see where the next stitches go.

Insert the needle one stitch length ahead of the working yarn and bring it up again one stitch length ahead.

Draw the yarn through.

Insert your needle where the previous stitch ends and bring it up again one stitch length ahead of the working yarn.

Draw the yarn through.

Keep stitching until you reach the other end of the mouth.
Tip! You can always use your working yarn as guide to see where the next stitches should go (see step 3).

Make the last stitch and bring the needle up where the mouth ends.

Draw the yarn through.

To get a smoother line, wrap your yarn around the stitches, always going in the same direction (whichever direction feels more comfortable to you). Insert the needle under the first stitch and draw the yarn through.

Then insert the needle under the next stitch, going in the same direction, and draw the yarn through.

Continue wrapping the yarn around each stitch.

Insert the needle where the mouth ends and bring the yarn to the bottom of the head through the opening.

Knot the yarn ends together.

And done!

Tip! If you can, finish embroidering before you sew your toy together - this way you can fasten all yarn tails securely inside your pieces.
If you do not see the videos properly, head over to YouTube.
If you have any questions, do not hesitate to contact me or leave a comment below, I am always happy to help.


1 comment
Thank you so much, that was easy enough. I just wanted something simple & nice