When making a round amigurumi piece, you usually start with six stitches and then increase by six stitches every round, until the piece is big enough. But if you increase in the same spot every round, you will end up with a hexagon and the increases will be quite prominent even after stuffing.
For example:
1: mr, sc 6 (6)
2: inc x 6 (12)
3: (sc, inc) x 6 (18)
4: (sc 2, inc) x 6 (24)
5: (sc 3, inc) x 6 (30)
6: (sc 4, inc) x 6 (36)

As you can see here, the increases are stacked on top of one another and the piece looks more like a hexagon than a circle. And for some patterns, that might be exactly the result you want.
But more often you'll want your amigurumi to be nice and round, like a teddy bear's head for example. This is why you should try to arrange the increases more evenly around the piece.
This is how I do it: on every even round, I divide the first group of single crochet stitches into two parts and make one less than half at the beginning and the rest at the end of the round. This way you still have the same exact number of stitches, but you will be switching the place where you increase every other round.
For example:
1: mr, sc 6 (6)
2: inc x 6 (12)
3: (sc, inc) x 6 (18)
4: (inc, sc 2) x 6 (24)
5: (sc 3, inc) x 6 (30)
6: sc, inc, (sc 4, inc) x 5, sc 3 (36)
7: (sc 5, inc) x 6 (42)
8: sc 2, inc, (sc 6, inc) x 5, sc 4 (48)

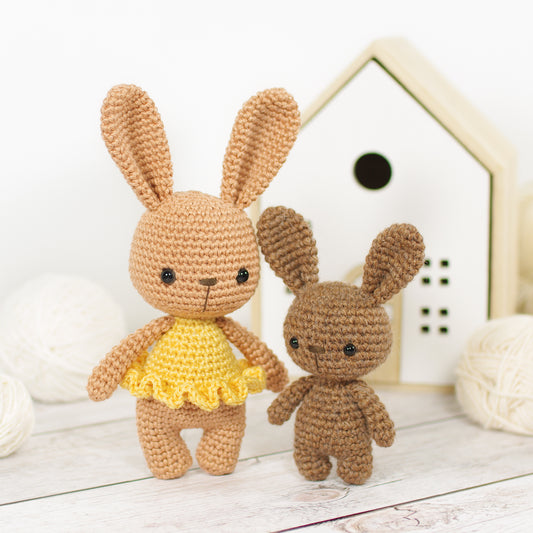
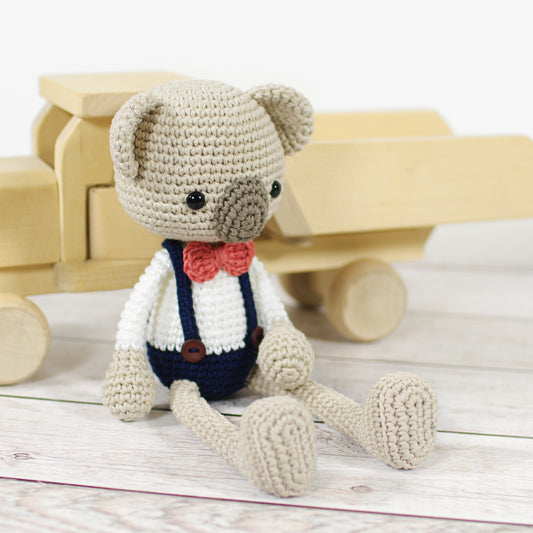
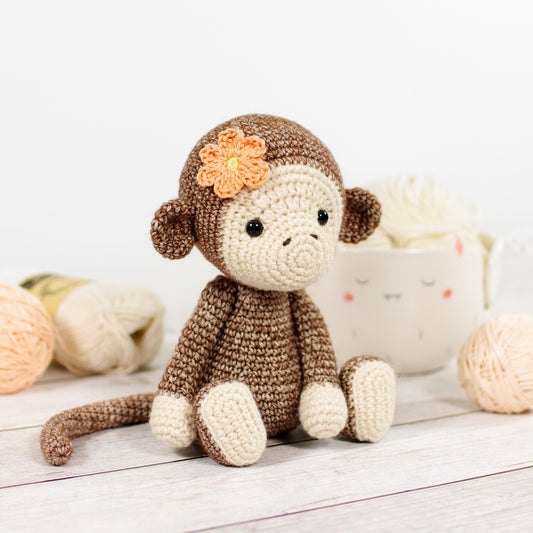
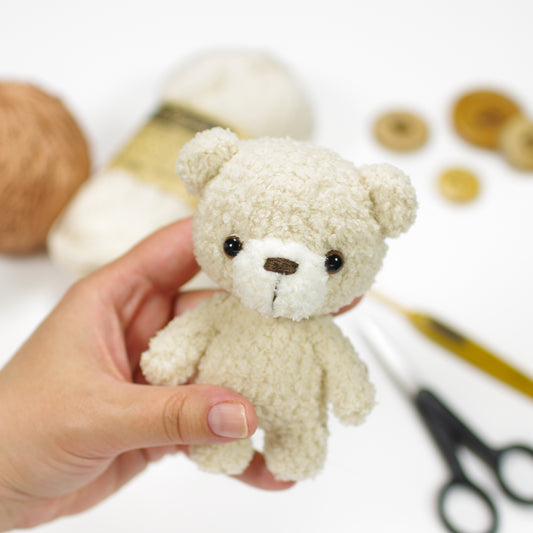
As you can see from the photos, it will make a huge difference, even on these small pieces and more so when making larger toys.
You should do the same when decreasing or you will have a row of decreases clearly showing. As with increases, the larger the piece, the more prominent the decreases will be. And, unlike with increasing, where you can sometimes shape the piece with stuffing, the row of decreases will be very clear, even if you do get your piece to look round.
If you have any questions, do not hesitate to email me or leave a comment below, I am always happy to help.


4 comments
Very helpful.
Thank you
Re: Comment Pritika Rastogi on July 26, 2020
To increase, you just crochet two sc-s in the same stitch. So, on the second round you do 6 increases, which means you crochet two sc-s in each of the six stitches. Then on the third round, you start with a sc in the first stitch and then do the increase (i. e. two sc-s in the same stitch) in the next stitch and so on.
If you increase by six stitches every round, you start with six increases in a row, then on the next round you do an increase in every other stitch, then next round in every third stitch, then in every fourth stitch and so on; crocheting one sc in all the other stitches. So, for example, on round 6 you start with sc in the first four stitches and then do the increase in the fifth stitch. But, to make sure the increase on round 6 is not on the same spot as on round 5, I will take the first group of four sc-s and do just one in the beginning of the round, then do the first increase, repeat the “sc 4, inc” pattern five times and then do the 3 sc-s I skipped earlier at the end of the round. See 6: (sc 4, inc) x 6 (36) versus 6: sc, inc, (sc 4, inc) x 5, sc 3 (36)
Hello Kristi…
Can u pl explain this para again…
How do u increase??
on every even round, I divide the first group of single crochet stitches into two parts and make one less than half at the beginning and the rest at the end of the round. This way you still have the exact same number of stitches, but you will be switching the place where you increase.
Thank you Kristi for your return email regarding the head shaping of 7 inch teddy bear, yes I can see such a big difference in the round look of the shaping not doing it on top of each one in other rows it does look so much nicer I have only been crocheting for few years and am very elderly so I just thought I was reading it incorrectly, thank you so much for your explanation you have also taught me something new in crochet I was unaware of, your PATTERNS are lovely I am sure I will be shopping some more with you . Thanking you kindly. Diana