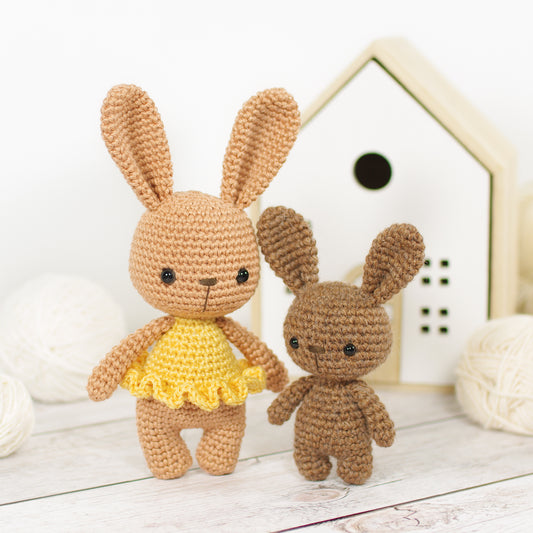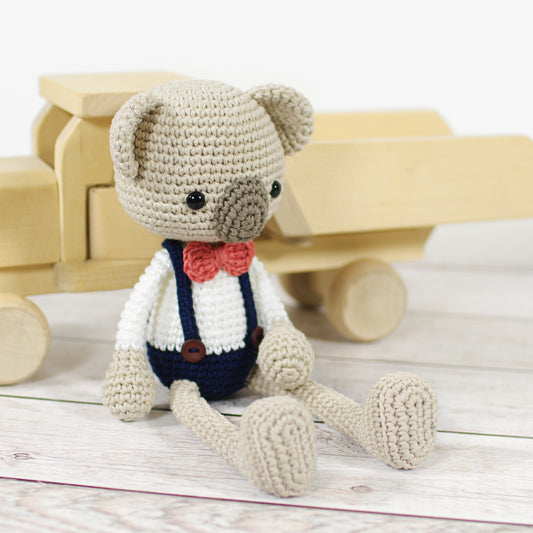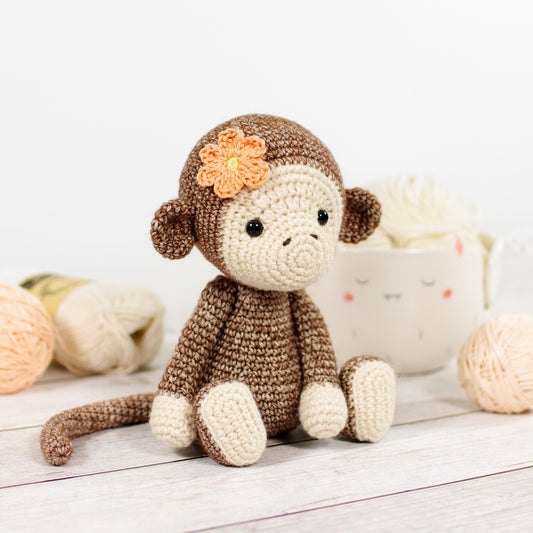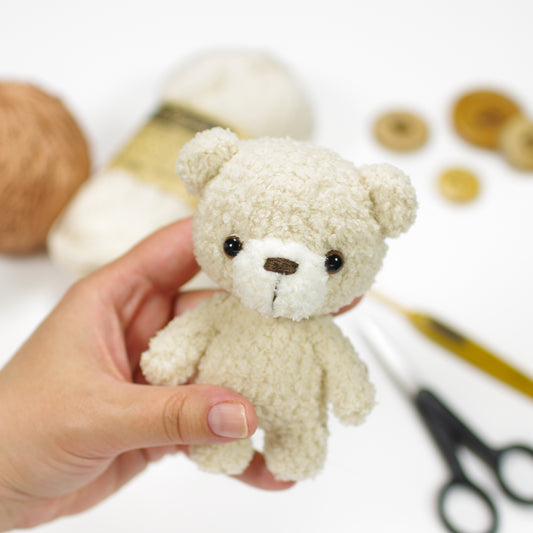
A few years back I wrote patterns for larger Christmas elves, but they are quite detailed and take a bit of time to make. And since I know December is the busiest time for all crafters, I thought I would also make a little elf doll that is smaller and simpler - perfect as a last minute present or if you need to work up a whole bunch.

They are not complicated to crochet, but do include some small details, which can be a bit fiddly to make. But if you have some patience and enjoy working on small details, it's right up your alley. Happy crocheting!
SIZE
19 cm (7 1/2") from head to toe, 25.5 cm (10") including the hat, when crocheted with DK weight cotton yarn and a 2.75 mm (US size C) crochet hook.
Tip! You can use the same pattern to make larger or smaller toys by using finer or bulkier yarn. Pick a crochet hook at least a size smaller than suggested on the yarn label and crochet tightly enough to achieve a tight gauge that will not allow the stuffing to show through the fabric. You may also need to adjust the size of the safety eyes.
SKILLS REQUIRED
- Magic ring
- Crocheting in spiral
- Slip stitch
- Single crochet stitch (double crochet stitch in UK and Australia)
- Increasing
- Decreasing
- Finishing an open piece
- Joining two open pieces
- Sewing an open piece to a closed piece
- Sewing a flat piece to a closed piece
YOU WILL NEED
- Yarn. I used DROPS Muskat*, a DK / light worsted weight cotton yarn (50 g = 100 m / 109 yd). You will need about 17 g of beige and 28 - 32 g of red or green yarn.
- 2,75 mm crochet hook or a size matching your yarn.
- Stuffing. Polyester fiberfill works best, but you can use any materials you might have at hand.
- 8 mm (1/3") safety eyes.
- Sport weight or finer yarn for the pom-pom.
- Fingering weight cotton yarn for shoe laces.
- White cotton embroidery floss.
- Yarn needle, scissors, sewing pins and a stitch marker.
ABBREVIATIONS
- mr, sc n = magic ring – crochet n (number) single crochet stitches into the adjustable loop.
- sl st = slip stitch.
- ch = chain stitch.
- sc = single crochet stitch (double crochet stitch in UK and Australia).
- sc n = crochet one sc in each of the next n stitches.
- inc = increase – crochet two single crochet stitches in the same stitch.
- dbl-inc = double increase - crochet three single crochet stitches in the same stitch.
- dec = decrease – crochet two stitches together using the invisible decrease method.
- (sc 4, inc) x n = repeat the pattern between parentheses n times.
- [36] = number of stitches in a round after finishing round.
NOTES
- Work in a continuous spiral, do not join rounds or turn your work, unless instructed otherwise in the pattern.
- Use a stitch marker or a piece of yarn to mark the end or the beginning of a round. Move the marker up after completing each round.
- All stitches are worked into both loops, unless instructed otherwise in the pattern.
HEAD
With beige yarn:
1: mr, sc 6 [6]
2: inc x 6 [12]
3: (sc, inc) x 6 [18]
4: (inc, sc 2) x 6 [24]
5: (sc 3, inc) x 6 [30]
6: sc, inc, (sc 4, inc) x 5, sc 3 [36]
7-13: sc in each st [36]
14: sc, dec, (sc 4, dec) x 5, sc 3 [30]
Attach safety eyes between rounds 11 and 12, leaving 7 stitches (count 6 holes) between them.

Start stuffing the head.
15: (sc 3, dec) x 6 [24]
16: (dec, sc 2) x 6 [18]
17: (sc, dec) x 6 [12]
Sl st in next stitch. Cut the yarn, leaving a long yarn tail for sewing, and fasten off. Finish stuffing the head.
HAT
With red or green yarn:
1: mr, sc 6 [6]
2: (sc, inc) x 3 [9]
3: sc in each stitch [9]
Make a little yarn pom-pom and sew it to the tip of the hat.
4: (inc, sc 2) x 3 [12]
5: sc in each stitch [12]
6: (sc 3, inc) x 3 [15]
7: sc in each stitch [15]
8: sc, inc, (sc 4, inc) x 2, sc 3 [18]
9: sc in each stitch [18]
10: (sc 5, inc) x 3 [21]
11: sc in each stitch [21]
If you want to make a hat with the tip folded down, add eight more rounds of single crochet stitches (rounds 12-19).
If you are making a straight hat, just skip this part and go straight to round 12.
12(20): sc 2, inc, (sc 6, inc) x 2, sc 4 [24]
13(21): (sc 7, inc) x 3 [27]
14(22): (inc, sc 2) x 9 [36]
15(23): sc in each stitch [36]
16(24): (sc 5, inc) x 6 [42]
17-21(25-29): sc in each stitch [42]
22(30): (dec, sc 19) x 2 [40]
Sl st in next stitch. Cut the yarn, leaving a long yarn tail for sewing, and fasten off.
If you are making a straight hat, stuff the tip of the hat lightly.

Sew the hat to the head with back stitch just above the last round.

Fold down the tip of the hat and make a little stitch through it to keep it in place.

BODY
With red or green yarn:
1: mr, sc 6 [6]
2: inc x 6 [12]
3: (sc, inc) x 6 [18]
4: (inc, sc 2) x 6 [24]
5-8: sc in each stitch [24]
9: (sc 6, dec) x 3 [21]
10: sc in each stitch [21]
11: sc 2, dec, (sc 5, dec) x 2, sc 3 [18]
Start stuffing the body. Keep adding a bit of fiberfill after every few rounds, stuffing the body firmly.
12: sc in each stitch [18]
13: (sc 4, dec) x 3 [15]
14: sc in each stitch [15]
15: sc, dec, sc 3, dec, sc 3, switch to beige yarn, dec, sc 2 [12]
16: sc in each stitch [12]
Sl st in next stitch. Cut the yarn and fasten off. Finish stuffing the body.
Turn the body so the end of the round is at the center of the back and sew the head to the body. Add a bit more stuffing before closing the seam.
Tip! I prefer using the mattress stitch - it looks nice and neat and creates a sturdier seam that helps avoid a floppy head.

ARMS
With beige yarn:
1: mr, sc 6 [6]
2: (inc, sc) x 3 [9]
3: sc in each st [9]
4: (sc, dec) x 3 [6]
Stuff the hands firmly. Do not stuff the arms.
5-6: sc in each st [6]
With red or green yarn:
7-12: sc in each st [6]
13: sc 4, flatten and sc through both layers

Cut the yarn, leaving a long yarn tail for sewing, and fasten off. Sew the arms to the sides of the body, one row below the head.

LEGS
With red or green yarn:
Crochet the first round around a base chain.
1: ch 5, 2 sc in second ch from hook, sc 2, 4 sc in first ch. Rotate and work into the beginning chain from the other side: sc 2, 2 sc in last ch [12]
Continue working in spiral.
2: inc, sc 3, dbl-inc, sc 2, dbl-inc, sc 3, inc [18]
Work in back loops only on round 3!
3-4: sc in each st [18]
5: sc 5, dec x 5, sc 3 [13]
Start stuffing the leg. Keep adding a bit of fiberfill after every few rounds, stuffing the feet firmly and legs lightly.
6: sc 2, dec, (sc, dec) x 3 [9]
7-8: sc in each st [9]
Sc in in next two stitches. Count the last sc as the end of the round from now on.
With beige yarn:
9: sc 3, dec, sc 4 [8]
10: sc in each st [8]
11: sc 3, dec, sc 3 [7]
12-17: sc in each st [7]
18: (sc, dec) x 2, sc [5]
Sl st in next stitch. Cut the yarn, leaving a long yarn tail for sewing, and fasten off. Finish stuffing the legs.

Sew the legs to the body over round 4, leaving 5-6 stitches between the two legs.

Embroider a little snowflake to the front of the body.

Weave in the yarn tails and we're done!

If you have any questions, do not hesitate to contact me or leave a comment below, I am always happy to help.
I would love to see how your elves turn out, so do post a photo to my Facebook page or tag me in your social media posts, I'm @kristitullus on Instagram and Facebook.
Copyright 2015 TÜ Spire. All rights reserved.
Please do not post this pattern to your website or blog, instead post a link to https://kristitullus.com/blogs/blog/free-pattern-small-christmas-elves. You MAY use this pattern as a teaching aid in any free class or e-course, or as part of a free crochet pattern, provided you credit me as the designer (Kristi Tullus, http://kristitullus.com).
Feel free to sell items made with this pattern.
* Some links may be affiliate links which will allow me to make a small commission on any products purchased using one of these links with no extra cost for you. This does not influence my opinion or recommendations in any way. Thanks for your support.


10 comments
Adorable and quick to work up. Just have to finish the legs and then I will make another one
Die Elfen sind einfach zu häkeln und haben eine große Wirkung. Sie sehen sehr gut aus, danke für das Muster.
Made one. It turned out adorable.
These Elves are just too cute! I am following the pattern, complete the head and the hat, now on the body. I am using Paintbox, 4 ply cotton. It is going well so far. Enjoying it so much. Thank you.
Super cute :)