
Have you seen those teddy bears with jointed arms and legs that can be moved back and forth and wondered how to do that? Then keep reading. In this post, I will show three different ways to attach the arms and legs to your crocheted toys using plastic doll joints, buttons and thread, or just thread.

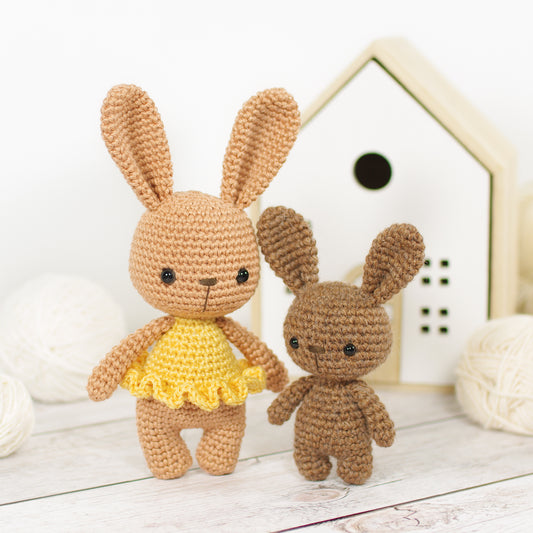
PATTERN - Lucy the Monkey
PLASTIC DOLL JOINTS
Plastic doll joints are my favorite - they are easy to install, durable and washable. If you can't get your hands on joints, safety eyes will work great as well, although the stems on the eyes might be a bit too short when using bulkier yarns.
You might be able to find joints in your local yarn or craft stores or order them on Amazon, but my favorite ones I bought from 6060 (US), SunlitSerendipityCo (US), AmazingCraftAC (UK), and CraftSupprise (China), smaller sizes from SnacksiesHandicraft (Singapore) on Etsy.
Joints come in three pieces - disc with a stem, a washer and a lock washer/fastener.

Put the disc with a stem inside the arm or leg, pushing the stem through the fabric, placing it so the stem is facing straight toward the body.
Tip! You'll want to use the largest joint that will fit inside the arm or leg - this way it will sit nicely flat against the body.

Finish the arms and legs, stuff them firmly and close the opening.

To attach the limbs, push the stem through the body fabric, put the washer on the stem and then push the lock washer into place.
Tip! Don't push the lock washer all the way to the bottom at first, adjust it so the arm or leg is tightly against the body, but not so tight you can't move it.


BUTTONS AND THREAD
If you can't find joints or safety eyes or you just don't want to use them, buttons and yarn will work great as well. If you're using more delicate yarn like mohair or alpaca, use something stronger like cotton to attach the limbs – it will have to endure quite a bit of tension and can be difficult to fix, should it break.
Tip! You'll want to use the largest button that will fit inside the arm or leg - this way it will sit nicely flat against the body.
Cut a length of yarn and draw it through the holes in the button.

Put the button inside the arm or leg and draw the yarn tails through the fabric, placing it so the yarn ends are facing straight toward the body.

Finish the arms and legs, stuff them firmly and close the opening.
Place the other button inside the body, draw the yarn tails through the holes and knot them together.

YARN
You can also use just yarn to attach the arms and legs to the body. Unlike the first two methods where you need to attach the joints as you go, you need to finish the body, arms, and legs first.

Cut a length of yarn and thread it onto a needle. Insert the needle where you want to attach the arm or leg. Go straight through the body and draw the yarn through, leaving a short tail.


Now you have a few options.
You can make a little stitch through the inner side of the limb, so it won't be visible once it's attached to the body.

Or you can make a little stitch through the limb.

Or you can make a stitch through the limb and add a button to the outside for extra support.

Then insert the needle into the same hole where you brought the yarn up last time ...

... and go straight through the body, bringing the needle back up where you inserted the needle last time. Draw the yarn tight.

Then attach the second limb the same way.

Draw the yarn tight so the limbs are tightly against the body. Knot the yarn ends together.

Thread both yarn tails onto a needle. Go back into the same hole where you brought the yarn up last time, going up and through the body.

Tug gently until the knot disappears into the fabric. Cut off the yarn tails close to the fabric.

I also have a little video showing all three methods. If you do not see the video properly, head over to YouTube.
If you have any questions, do not hesitate to email me or leave a comment below, I am always happy to help.

* Some links may be affiliate links which will allow me to make a small commission on any products purchased using one of these links with no extra cost for you. This does not influence my opinion or recommendations in any way. Thanks for your support.

18 comments
Videos are not my thing. I hate waiting for the advertisements, I hate long drawn out discussions about things I don’t care about or things I already know. I loved your printed instructions and pictures. They were exactly what I needed, concisely written, and most instructive. Thank you for delivering me from another laborious video. Barb S.
I am trying to find out how to join crocheted legs to a crocheted piece. It is not amigurumi. This is an older pattern of Winnie the Pooh. Do you or anyone else know how to connect these?
Re: STELLA – JUNE 15, 2022
It’s pretty much impossible to undo them without breaking them. The joints I use have a washer that is flexible enough that I managed to get a small flat head screwdriver underneath it to lift it a little and then I used small wire cutters to cut the washer.
But it doesn’t always work. In that case, I cut the post of the joint as close to the washer as I could, and then pulled the washer off. Of course you’ll have to redo the last couple of rounds of the legs and use new joints.
Please help! Is there a way to undi these joints? I inserted the legs reversed in the torso! Thank you
Thanks so much for your tips on joints; have always wanted to make the toys mote realistic with movable joints.