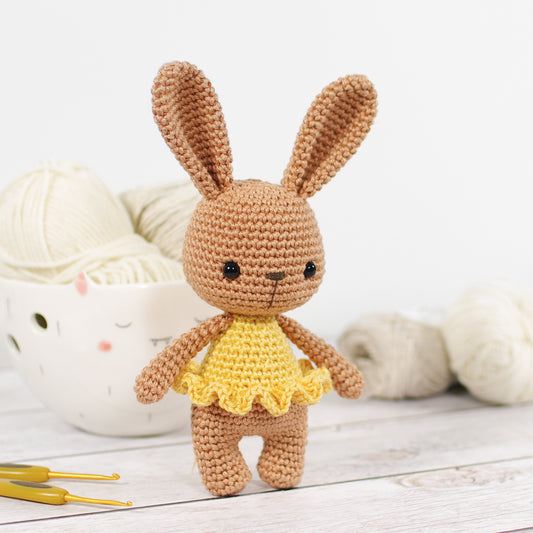
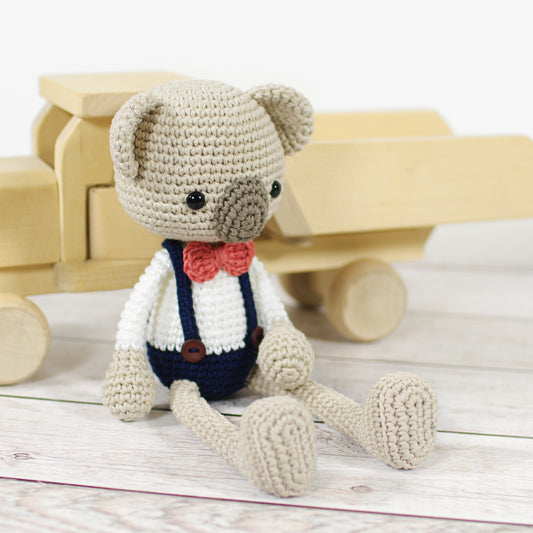
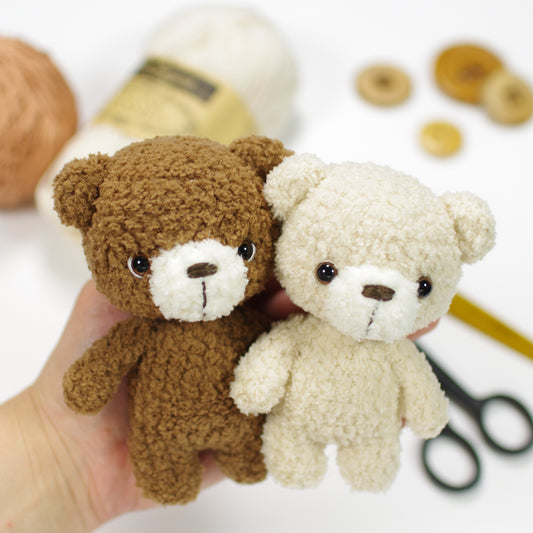
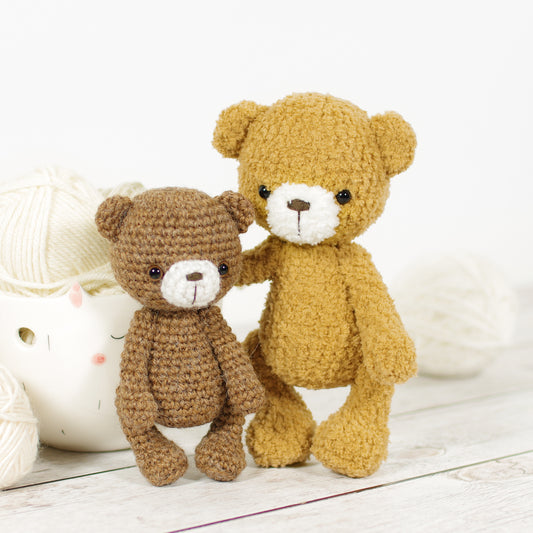
I started working on a panda bear, but then realized I already have a teddy bear pattern that would make an excellent panda with just a few little modifications. And if you want to make one yourself, read on, I will explain all the changes I made below.

You will need:
- My classic teddy bear pattern
- About 35 g of white and 25 g of gray DK/light worsted weight yarn. I used DROPS Muskat *
- 2.50 - 3.00 mm crochet hook *
- 9 mm (3/8") safety eyes *
- 12 mm safety nose *
- Polyester fiberfill *, wool, wadding etc. for stuffing.
- Two 20 mm and two 15 mm plastic doll joints * or safety eyes or buttons and strong thread.
- Black cotton embroidery floss
- Gray and white crafting felt
- Gray sewing thread
- Sewing needle, yarn needle, scissors, stitch marker

Make the muzzle first. Attach the safety nose between rounds 2 and 3, and embroider the mouth.

Cut a disc out of white felt, a bit larger than the eye. Make a little hole in the middle and push the post of the safety eye through it.

Trim the felt, leaving just a sliver of white showing on one side.

Cut a kidney shaped piece out of gray felt (download a template HERE). Make a small hole a bit more towards the thinner end and push the post of the safety eye through it.

Start crocheting the head with white yarn following the pattern. When attaching the eyes, make sure the muzzle fits between the eye patches. If you need to, move the eyes further apart.

Sew the eye patches to the head with matching thread. Finish the head following the pattern.

Make the arms, legs and ears with gray yarn, following the pattern.

Start crocheting the body with white yarn and finish the first 18 rounds. On round 19 crochet the first 8 stitches with white yarn, then switch to gray yarn. Finish the body with gray yarn, following the pattern.

Tail
1: mr, sc 6 [6]
2: (inc, sc) x 3 [9]
3-4: sc in each stitch [9]
Sl st in next stitch. Cut the yarn, leaving a long yarn tail for sewing, and fasten off. Stuff the tail lightly.
Sew the tail to the body over rounds 7 and 8.

And done!

If you have any questions, do not hesitate to email me or leave a comment below, I am always happy to help.
* Some links may be affiliate links which will allow me to make a small commission on any products purchased using one of these links with no extra cost for you. This does not influence my opinion or recommendations in any way. Thanks for your support.


