There are so many beautiful techniques for embroidering noses on your teddy bears, just do a Google search for "artist teddy" and you'll see what I mean. But most of them take quite a bit of time and effort - all stitches really need to be very precise. It's not easy with fabric toys, but almost impossible to get a nice result on crocheted toys.
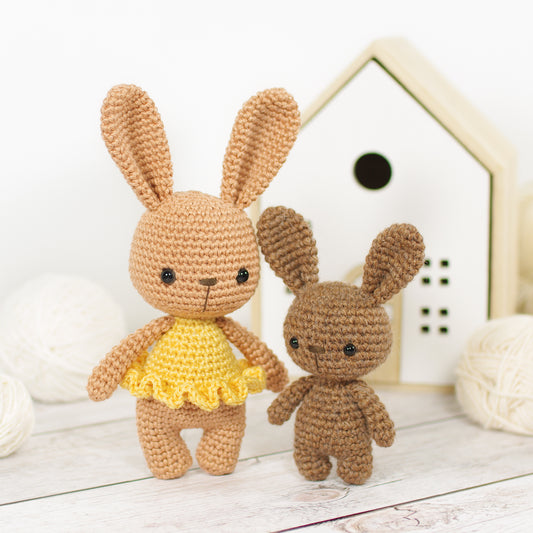
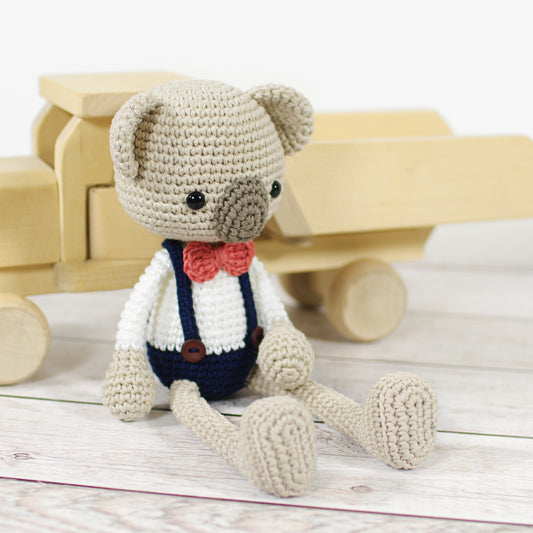
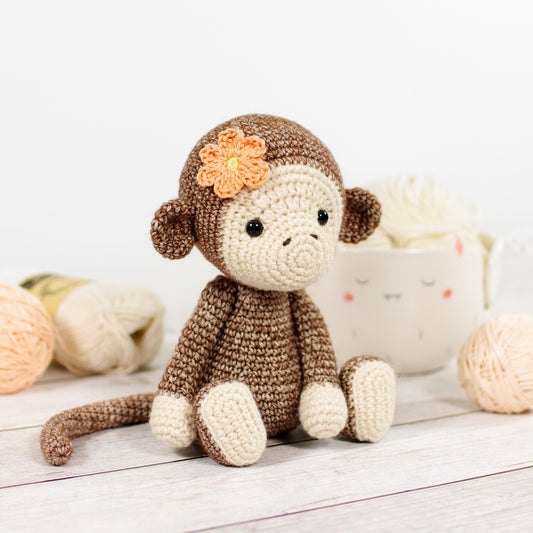
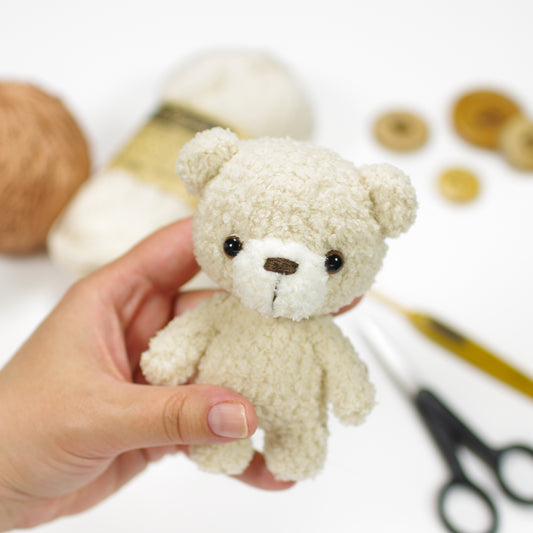
When working with bumpy crochet surface, I think it's best to keep things simple. In this post I will show you how I usually embroider noses on my teddy bears, cats and bunnies - it's very quick and easy and as long as you keep your stitches straight, it's going to look great.

Tip! Sew the muzzle and ears to the head, embroider the nose and add any other embellishments before you sew the head to the body - this way you can fasten all yarn tails securely with a knot under the head.
Insert the needle under the head and bring it up right at the center of the nose. Draw the yarn through, leaving a short yarn tail at the bottom.

Go straight down, making a little vertical stitch, and bring the needle back up where the mouth starts. Draw the stitch tight.

Insert the needle under the vertical stitch and draw the yarn through.

Insert the needle where the mouth ends and bring it up where the nose starts. Draw the stitch tight.

Or you can skip the mouth part and just make a long vertical stitch.

Start embroidering the nose. Make horizontal stitches, always inserting and bringing up the needle in the same hole, trying to keep even tension.

Just keep stitching until the nose is big enough.

Come back out through the opening and knot the yarn ends together under the head.

If you do not see the videos properly, head over to YouTube.
If you have any questions, do not hesitate to contact me or leave a comment below, I am always happy to help.


