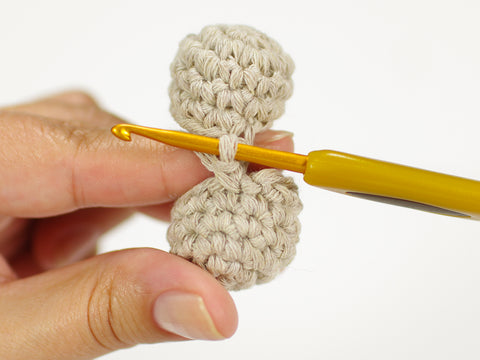
In this post, I will show you how to join two or more open amigurumi pieces as you crochet. You can use this technique to crochet together legs to make a one-piece body, add fingers and toes, join smaller pieces to form antlers, etc.

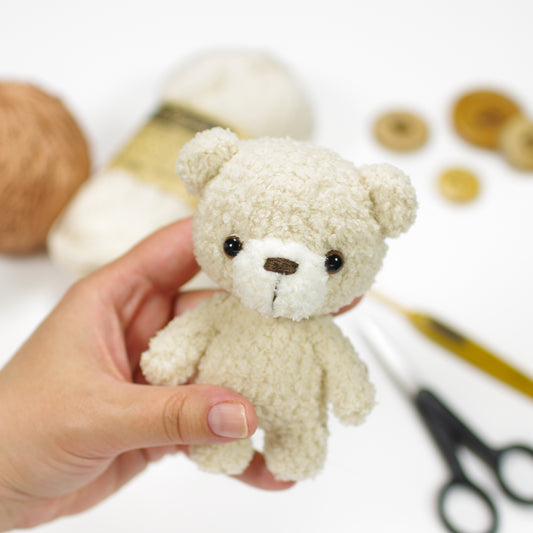
PATTERN: Oliver the Tiny Teddy Bear
I will show you three ways to do this, so you can have the pieces right next to each other, have a few overlapping stitches, so the pieces are even closer together, or leave a bit of space between the pieces by adding a chain between them.
JOIN TWO PIECES RIGHT NEXT TO EACH OTHER
Here we will be joining two open pieces by simply crocheting around both of them, so they will be right next to each other.

1. Finish one of the pieces first, slip stitch in next stitch, and fasten off. Then finish the second piece, but don't fasten off, leave the working yarn attached to the second piece.

Tip! Before you get to step 2, the pattern may call for a few more stitches. For example, if you crochet half a round on the second piece (the left leg in this example) and then join the legs, the end of the round will be at the side of the body.
2. Have the working yarn on your hook. Take the first piece and insert your hook through the next stitch after the slip stitch.

3. And complete the first stitch.
4. Continue all around the first piece.

5. Then continue around the second piece where we left off, inserting your hook in the next stitch.

6. Complete the first stitch.

7. Continue crocheting around the second piece and finish the round.

8. There will be a small gap between the two pieces.

9. Make a little stitch through the center to close up that hole.


11. And now you can continue crocheting around both pieces.


JOIN TWO PIECES WITH OVERLAPPING STITCHES
Another option is to have a few stitches overlapping between the two pieces. This way they will be squeezed together, making the finished piece wider.

1. Finish one of the pieces first, slip stitch in next stitch, and fasten off. Then finish the second piece, but don't fasten off, leave the working yarn attached to the second piece.

2. In this example, we will have three overlapping stitches. So, take the first piece, skip the first three stitches after the slip stitch, and insert the hook into the fourth stitch.

3. And complete the first stitch

4. Continue around the first piece, but leave the last three stitches unworked.

5. Take the second piece, skip three stitches and insert your hook into the fourth stitch.

6. Continue around the second piece and complete the round.

7. Sew the seam between the two pieces closed.

8. And now you can continue crocheting around both pieces.

As you can see from the photos, by having a few stitches overlapping, the pieces will be squeezed together adding width to the finished piece.


JOINING TWO PIECES WITH A CHAIN BETWEEN THEM
If you want to add a bit of space between the pieces, you can join them with a chain. In this example, we will be adding three chain stitches between the two pieces.

1. Finish one of the pieces first, slip stitch in next stitch, and fasten off. Then finish the second piece, but don't fasten off, leave the working yarn attached to the second piece.

2. Take the second piece and chain three.

3. Take the first piece and insert the hook in the first stitch after the slip stitch.

4. Complete the first stitch.

5. Continue around the first piece.

Tip! The next step is something I like to do to shape my work, but your pattern may call for just working in the chain stitches next. In that case, skip step 6.
6. Crochet one stitch in the next stitch, the one where you made the first stitch after the chain, so you have 2 stitches in that stitch.

7. Work the next stitches into the three chain stitches.


Tip! If you skipped step 6, skip step 8 too, and go straight into the next stitch.
8. Crochet the next stitch into the same stitch you made the last stitch before the chain, so you have two stitches in that stitch.

9. Continue around the second piece and finish the round.

10. On the next round, work into the chain stitches from this side.

11. Continue crocheting around the two pieces and the chain between them.


If you have any questions, do not hesitate to email me or leave a comment below, I am always happy to help.