Little amigurumi creatures make such cute keychains or bag charms and are great gifts, appreciated by children and adults alike. In today's post I will share a couple of my favorite patterns, what materials I like to use and how I attach the clasp and keyring.
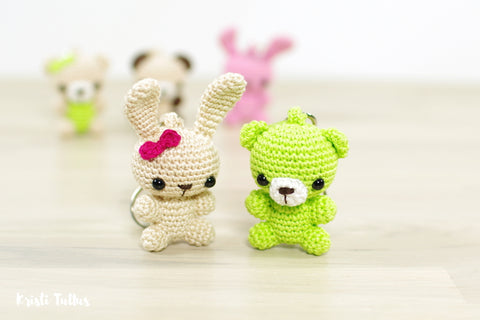
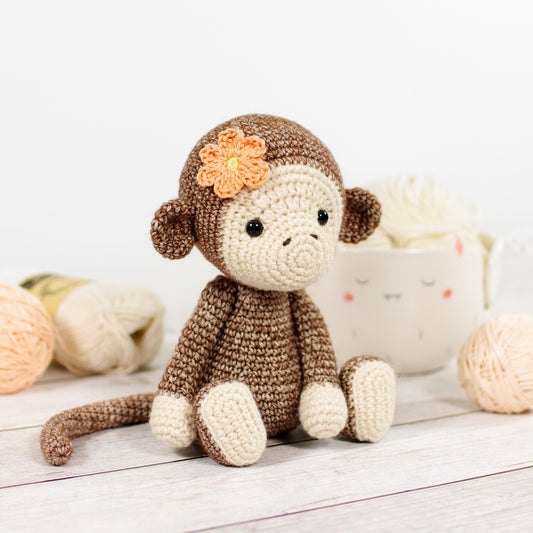
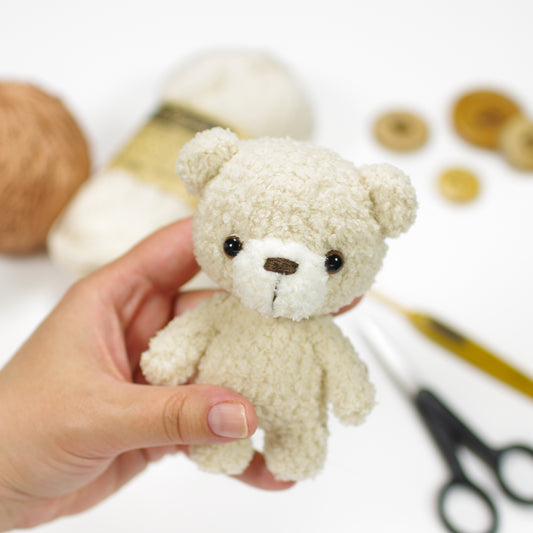
Lets start with patterns. I have a few free patterns that work great - bunny, teddy bear, alien, cat, owl and rattle monster (without the rattle, of course) patterns are all awesome for making keychains. And if you do a quick search, you'll definitely find many more patterns out there in the magical online amigurumi world.

When it comes to choosing the yarn, I prefer using cotton - it's durable, easy to wash and comes in a lot of colors. I like using light fingering weight cotton yarns, around 165 m (183 yd) per 50g (1.76 oz), the one I've used most lately is Almina from Madame Tricote. A 1.50 mm hook works great with that.
But if this is a bit too fine for you, fingering weight yarns, that is around 125 m (137 yd) per 50 g (1.76 oz), will work great as well. But I definitely like the really miniature look you get with the finer yarn more.

If you do decide to go with a finer yarn than the pattern calls for, you will need to use smaller eyes, noses etc. than the ones suggested in the pattern as well. Here I used 6 mm eyes for the bears and bunnies and 8 mm eyes for the owls.

To attach the little teddy to your key bunch or a bag, you'll need to add a key ring or a clasp. You can just sew a key ring on, but I prefer a crocheted loop with a clasp. The smooth ring on the clasp doesn't snag on the yarn like a key ring can, so it won't break as quickly.

To make the loop, start with a slip stitch at least 5 cm (2") from the yarn end and crochet a chain twice as long as you want your loop to be. I usually go with 15 chains.

Starting in the 2nd chain from hook, sc (dc in UK and Australia) in each chain, crocheted into the loops (or bumps) on the back of the chain. Cut the yarn, leaving a long yarn tail for sewing, and fasten off.

Complete the first few rounds of the head. Take the little detail you made for the loop and thread the starting yarn tail onto a needle. Insert the needle between the first and second round and draw the yarn through.

Then thread the other yarn tail onto a needle. Insert the needle on the other side of the first round and draw the yarn through.

Knot them together.

Bring the needle back up where you inserted it last time.

Now add the clasp or key ring. And then sew the other end of your loop to the head.


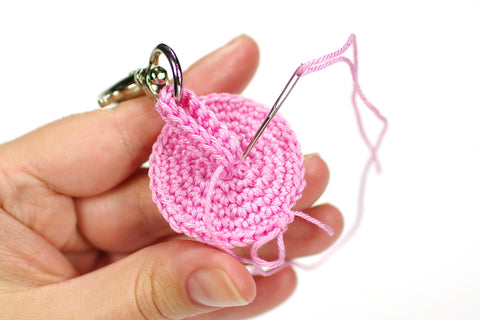
Then bring your needle up through the center of the first round. Go through both layers of the loop.

Go back through the center.

Draw the stitch tight and knot the yarn ends together.

And then continue crocheting the head as you would normally.

To add the clasp to your little owls, crochet a loop as described above and then sew the ends between the seam when closing the owls body. Make sure you go through both layers of your loop when stitching the seam closed.

If you have any questions, send me an email here or leave a comment below.


4 comments
Very useful article information on Keychain. Thanks for sharing. From keychain online
Indian Online Shopping website
Very useful article information on Keychain. Thanks for sharing. From keychain online
Indian Online Shopping website
Hi Noranne! You will find the little bear pattern here – https://kristitullus.com/blogs/news/free-pattern-tiny-teddy-bear
Hi Kristi
Your pink crochet teddy bear is fabulous. Can I ask you please to e-mail me the pattern please (pdf). Thanking you so much.
Noranne Curran