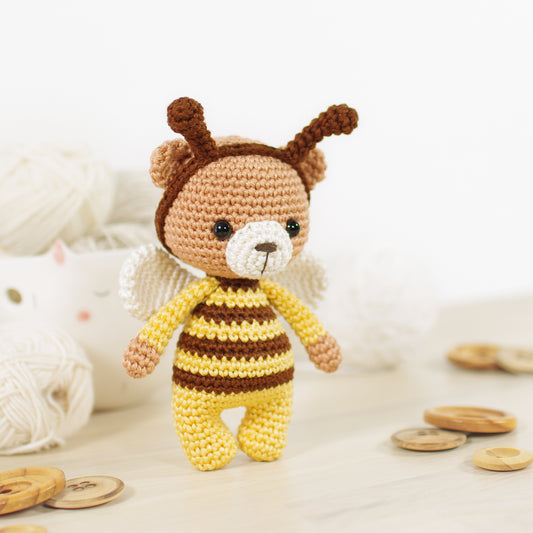
So you have decided to try making toys yourself? Great news! It is quite easy to get started but very satisfying and you will learn all the tricks quickly. In my opinion, the best way to learn is just to pick a pattern, get the materials and start crocheting.
Here's what you'll need:
1. PATTERN
First choose a design. I suggest picking a larger toy with a simple shape and no complicated details. There are a lot of great patterns out there, a lot of them free. But I suggest buying a pattern when just starting. Why? Free patterns usually don't have many photos and explanations to help you get started. Also, if you buy a pattern from a good seller, you will know the pattern has been tested and most sellers are happy to offer advice and support.
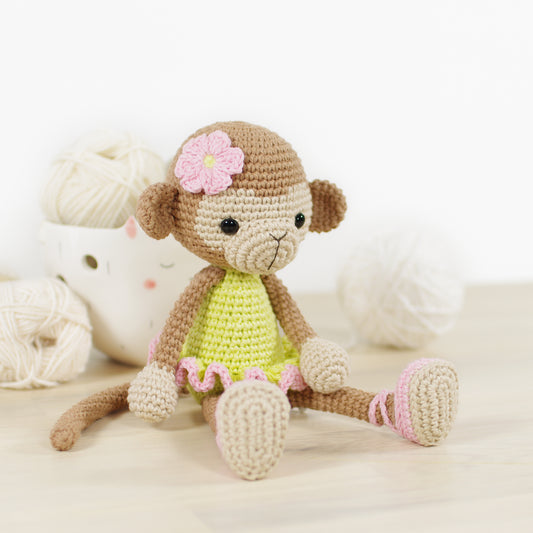
Etsy and Ravelry are great sources for amigurumi patterns. If you would like to try one of my patterns, browse them here or try one my free patterns, like these little rattle cats.

2. YARN
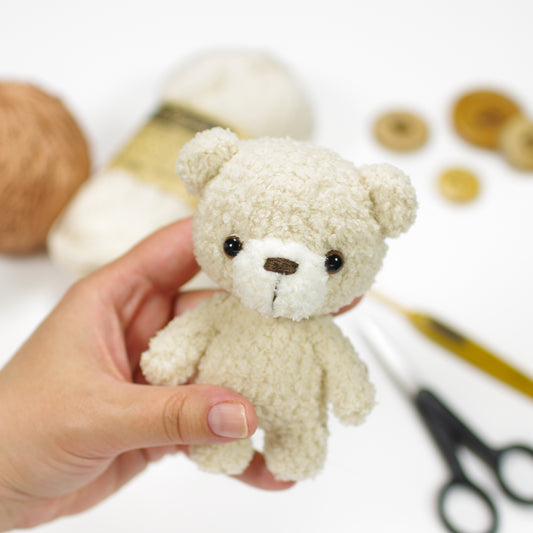
What kind of yarn you use is up to you, but I suggest using cotton, bamboo, wool or their blends and keeping away from fuzzy yarns until you are more comfortable with amigurumi making. It is best not to start with very fine yarns, something in DK to worsted weight range should work well. Lighter yarns are easier to work with, dark or multicolored yarns need a bit more concentration.

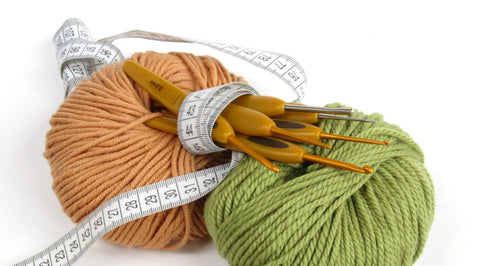
3. CROCHET HOOK
Pick a crochet hook that is at least a couple of sizes smaller than suggested on the yarn label and crochet tightly enough to achieve a tight gauge that will not allow the stuffing to show through the fabric.
I usually pick out the yarn first and then try crocheting a few stitches with different hooks and pick the smallest one I can still crochet comfortably with.
4. STUFFING
I prefer polyester fiberfill for stuffing - it will stay nice and fluffy even after many washes and hours of cuddling. But you could use any materials you have at hand like wool, wadding/padding or filling from an old pillow or stuffed animal. Polyester wadding/padding is great for stuffing very small details. Just keep in mind that toys will probably have to endure a lot of cuddling and some materials will clump easily.
5. EYES, NOSES and JOINTS
Depending on what you are making, you may need some toy eyes, noses and joints. I prefer using plastic ones that are child friendly and easy to use. You can find them in your local craft store or order over the internet, I put together a little list with my favorite shops.
But buttons, beads, felt or just embroidery floss can work nicely as well.

6. OTHER TOOLS
You will also need a yarn needle, scissors, a stitch marker (or a piece of yarn, paper clip etc.) and any embellishments you want to use.
Once you have all your materials and tools, it's time to start crocheting. But first, read through the pattern and make sure you understand all the abbreviations and stitches used. If you need a little help with a technique, take a look at the Learning Corner, you'll probably find the tutorial you are looking for there.
If you have any questions, do not hesitate to email me or leave a comment below, I am always happy to help.